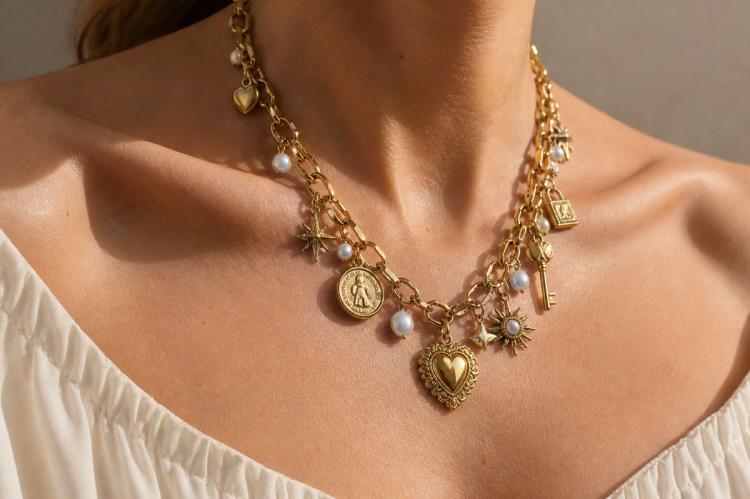
How to make your own beaded and chunky charm necklaces (without losing your mind)
Let me confess something. I love the look of personalized, maximalist jewelry, but my wallet absolutely does not love the designer price tags attached to it. I recently found myself staring at a stunning chunky charm necklace online, and I had about a million tabs open (fine, maybe just thirty-seven, but it felt like a million) trying to justify the cost. Then, a wild thought appeared: what if I just made it myself? The allure of DIY crafting is real, especially when it means you get to completely customize your vibe. Whether you are into the delicate, colorful aesthetic of a classic beaded necklace or you want to channel your inner maximalist with a heavy, jingling charm bar necklace, creating your own jewelry is actually incredibly accessible. I promise you don't need a degree in metalsmithing to pull this off. In this guide, we are going to walk through exactly how to craft your own unique beaded pieces and chunky charm necklaces from scratch, saving you money and giving you ultimate bragging rights when someone asks where you got your accessories.
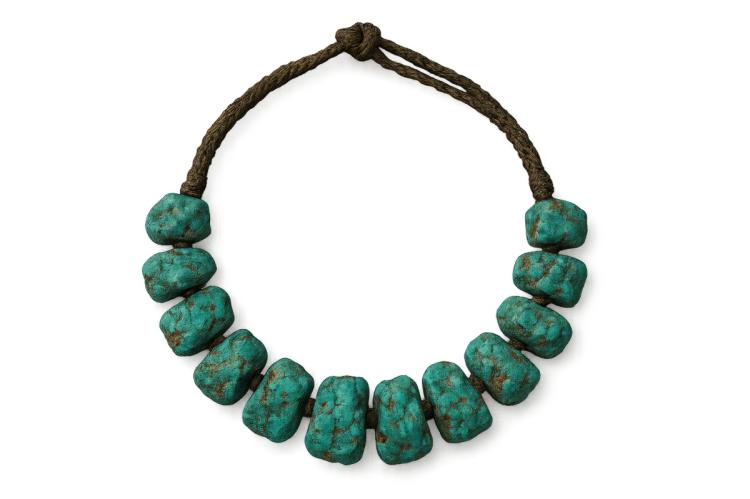
Gathering your supplies (and trying not to buy the entire craft store)
Before we start assembling anything, we need to gather our materials. It is very easy to walk into a craft supply shop and black out, waking up at the register with fifty bags of seed beads you do not need. We are going to keep it focused.
For a classic beaded necklace, you will need a fun assortment of beads. You can use glass, wood, plastic, or even tiny seed beads depending on your patience level. Next, you need your threading material. Flexible beading wire is the absolute best for beginners because it holds its shape and is very durable. To close the necklace, pick up some lobster clasps, toggle clasps, or magnetic closures. You will also need crimp beads (these are tiny metal tubes that hold everything together) and a basic set of jewelry pliers. A pair of flat-nose pliers and some wire cutters will be your best friends here.
If you are leaning toward a chunky charm necklace, the shopping list looks a bit different. You want to start with a sturdy, statement-making chain. A chunky rolo, classic cable, or trendy paperclip chain in sterling silver or gold-plated brass works perfectly. Then comes the fun part: the charms. Collect various sizes and themes that speak to your soul. To attach these little treasures to your chain, you will need an assortment of jump rings. Finally, make sure you have two pairs of flat-nose or snipe-nose pliers, because you will need them to properly open and close the jump rings without ruining your manicure.
Crafting beaded necklaces: stringing it all together
The first step to a beautiful beaded necklace is actually planning your design. Lay your beads out on a flat surface or a bead board to figure out your color scheme and pattern before you commit. Once you have a layout you love, measure out your beading wire. You want to cut it about five or six inches longer than your desired final necklace length, just to give yourself plenty of room to work with the clasps.
To start, thread a single crimp bead onto your wire, followed by one half of your clasp. Then, take the tail end of the wire and thread it back through the crimp bead, creating a small loop that traps the clasp. Grab your flat-nose pliers and firmly squash the crimp bead flat. That squashed metal tube is now the only thing keeping your necklace from exploding across the floor, so give it a gentle tug to ensure it is secure.
Now, you simply string your beads onto the wire according to your brilliant layout. Slide the first few beads over the short little wire tail you left to hide it nicely. Once all your beads are strung and you are happy with the length, it is time to finish the other side. Add your final crimp bead, then the other half of your clasp. Thread the wire back through the crimp bead and through the last two or three colored beads of your necklace. Pull the wire taut so there are no awkward gaps, and use your pliers to flatten this final crimp bead. Snip any remaining excess wire with your cutters, and you have officially made a beaded necklace.
Creating chunky charm necklaces: maximalist energy
If you decided to make a chunky charm necklace, the process is less about stringing and more about strategic placement. First, select your chain and cut it to your preferred length using your wire cutters. A sixteen-inch length is usually a great sweet spot for a collarbone-grazing look. Attach your clasp to the ends using jump rings.
Now, lay your chain flat and start arranging your charms around it. You want to balance the visual weight so you don't have all your heavy, giant charms dragging down one side. Once you have a pleasing arrangement, it is time to attach them using jump rings.
Here is the golden rule of jump rings: never pull the ring apart like a wishbone. If you do, it will lose its perfect circular shape forever. Instead, grip one side of the jump ring with your first pair of pliers, and grip the other side with your second pair. Gently twist one hand toward you and the other away from you to open the ring. Slide your charm onto the ring, loop it onto the appropriate link in your chain, and then twist the ring back into its original closed position. You might hear a tiny satisfying click when the ends meet perfectly. Repeat this twisting technique for every charm until your necklace looks delightfully chaotic and incredibly chic.
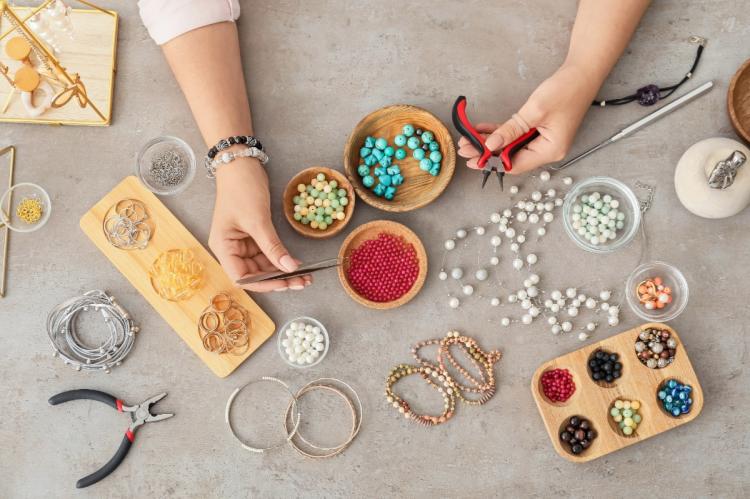
Tips for success (from someone who has definitely dropped a box of seed beads)
Making jewelry is supposed to be fun, so please experiment with different materials and wildly contrasting styles. Mix pearls with chunky gold chains, or thread vintage wooden beads next to neon plastic stars. There are truly no rules here.
Also, do not be afraid to make mistakes. You will inevitably squish a crimp bead wrong, or you might accidentally attach a charm completely backward. It happens to everyone. Just use your wire cutters to snip the mistake away and try again. Learning how your tools feel in your hands is just part of the process.
When you are not wearing your new creations, store them properly. Keep your pieces away from extreme humidity and try to lay your beaded necklaces flat or hang them up so the wire doesn't get weird kinks. If you used plated chains for your charm necklace, avoid spraying perfume directly on them to keep the metal looking shiny and new.
Wrapping it up
There is an undeniable joy and deep satisfaction that comes from looking at a trendy piece of jewelry and knowing you made it with your own two hands. Not only do you save a significant amount of money, but you end up with a piece that perfectly reflects your personal style. The next time you feel the urge to click "add to cart" on an overpriced accessory, grab your pliers instead.
I would absolutely love to see what kinds of messy, beautiful, or wildly professional-looking necklaces you come up with. Snap a picture of your finished beaded or chunky charm pieces and tag us on your favorite social media platform so we can hype up your crafting skills, and be sure to check out our other tutorials for more weekend project inspiration.